
Homemade Corn Tortillas
Mrs. April Jaure

When my great-grandmother, Maria, was about to make tortillas, she began by grinding her corn. These days, in my own family, we take the shortcut of buying ground masa harina, but we try to avoid the shortcut of buying tortillas. I like both flour and corn tortillas, but we usually eat the corn ones. Corn is the traditional grain used for tortillas, and I think it is a little healthier, being gluten-free and made with masa harina. Homemade corn tortillas are flavorful and simple to make.
The recipe below uses a tortilla press. A decent cast-iron press will run you thirty dollars or so. This really is a necessary tool for making corn tortillas: corn dough just doesn’t roll out with a rolling pin the same as wheat dough, but by flattening the dough ball in a press, the tortillas come out beautifully flat, symmetrical, and round (to the consternation of my four-year-old son, Mateo). I am happy that the tortilla press means that even newbies can make a well-shaped tortilla, but Mateo is less than pleased when he tries to make long, oblong-shaped tortillas, and once the dough goes in the tortilla press, it always seems to end up round. Whether the round shape the tortilla press provides for novice tortilla-makers is a positive or negative attribute, I will let you judge for yourself. I do hope, however, you will try them yourself and enjoy the traditional tortilla at home.
This recipe makes about 30 tortillas.
— April
Recipe

What You Need
Ingredients:
• 2 1/2 cups masa harina (this is made from corn that has been soaked in lime water — that is, water with slaked limestone in it. The lime water unlocks the vitamin niacin, making it bio-available.)
• 2 Tablespoons coconut oil
• 1 teaspoon salt
• 2 cups of warm water
Materials:
• 1 gallon-size resealable plastic bag
• Cast iron tortilla press (Mine is an 8 inch press)
• Non-stick skillet (I prefer a well-seasoned cast iron skillet)
What You Do
1. Cut the plastic bag along the sides so that it forms one long rectangle. You may also cut off the resealable tops of the bag. The result is that you are left with a rectangular plastic sheet with a crease in the middle that goes in the tortilla press and provides a non-stick surface for the tortilla dough. This can be stored with the tortilla press and reused.
2. Add the coconut oil and the salt into a mixing bowl and stir with a whisk until salt is well incorporated.
3. Add the masa harina to the bowl and mix again.
4. Warm two cups of water on the stove. Don’t heat it to a temperature higher than you can touch.
5. Add about 3/4 cup of the warmed water to the mixing bowl and mix in order to form a dough. Add more water as necessary, a tablespoon full or two at a time, until the dough comes together. A wetter dough that is a tad sticky produces a rounder, fluffier tortilla than dough that is too dry. I find that just over a cup of water is a good amount, but let the dough be your guide.
6. Begin pre-heating your skillet over medium heat.
7. Take a walnut-sized section of the dough and form a ball.
8. Place the ball in the center of the tortilla press, in between the folded plastic sheet, and close the press over the ball. Open and flip the now flattened tortilla to its opposite side, and press down again. I usually flip and rotate the tortilla a few times to get a thin, nicely rounded tortilla. If, after pressing, the edges of the tortilla are jagged, rather than nicely rounded, this is a sign that your dough is too dry. As I work, the dough tends to get a bit dry, and so I often add more water as needed as I am making tortillas.
9. Carefully remove the tortilla from the plastic sheet and place on the skillet. No oil is needed. The cast iron skillet should be dry and hot. If you look carefully at the tortilla, you will see some water vapor rising from the tortilla. When the water vapor stops rising, it is time to flip the tortilla. We heat our tortillas about one minute on one side, and about 45 seconds on the other. If needed, I turn the stove down to medium-low. The tortilla should be on the skillet long enough to be cooked, but still should be flexible.
10. Place tortilla in a tea-towel to keep warm until ready to serve. The tortillas do continue to cook a little in the tea towel.
11. Continue shaping and cooking each tortilla one at a time until all are completed.
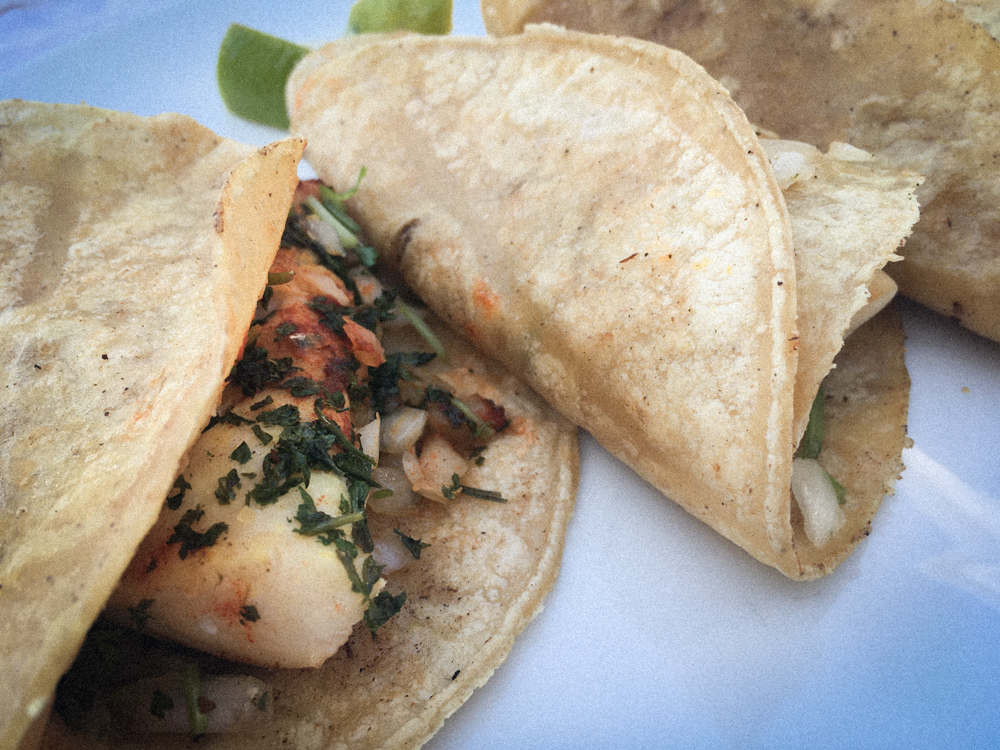
12. Use for tacos, burros, fajitas, etcetera. Or just enjoy them on their own!
Notes:
You may find that the tortilla press is so attractive that nearby children want to use it; they enjoy flattening the dough balls. So at these times, either I or my husband watches the tortilla at the skillet, flipping it when needed, while one of our children has the charge of shaping the tortillas. When I am working alone, however, I often shape the next tortilla in the press while the first one is heating on the skillet.
Tortillas are best when served fresh and warm. But any leftover tortillas can be stored in the refrigerator, and then rewarmed on a dry skillet for a minute or so until they become soft and pliable once again. Or, after cooking them on the stove, and letting them rest a bit in a tea towel, corn tortillas can be frozen; they should be thawed and then warmed again before eating.