Step-by-Step
Sourdough Bread
Instructions for both the
Adventurous & the Efficient

Mrs. April Jaure
My husband is a tinkerer. When he wants to learn a new skill, he’s likely to just dive in, experiment and fail, and try again. With some research and trial and error he eventually figures out what he needs to know. I, on the other hand, tend to prioritize efficiency over process. I take a class or learn from someone who has already perfected the skill I want to learn. I don’t want to experiment. I just want someone to tell me step by step what I need to do and then I will do that. The upside is that I spend less time in trial and error, but I admit the downside to moving through the steps is that it doesn’t always produce the same depth of knowledge that is born from making mistakes. I know what to do, but I don’t always know the reasons behind it.
When I first wanted to learn to make sourdough bread, I approached it in my usual way: I took an online class. Over time, however, I found myself breaking out of my usual mold; I began experimenting with different ratios and quantities of flour, starter, and water as well as various techniques. I’m now very glad I did.
The most efficient way to make bread is to use yeast. From start to finish, a normal loaf of yeast bread takes a few hours, including rising time. Sourdough, however, relies not only on yeasts, but also on fermentation, and this process takes time. Just as it takes time for our own meals to be fully digested, so it takes time for the wild yeasts and bacteria in sourdough to digest their meal of flour and water. The benefit of allowing this time is a bread that is tasty, more easily digestible to humans, and with a higher nutrient-density, as the fermentation process unlocks key nutrition, making them available for our bodies to use. Sourdough may be the most nutritious way to eat bread.
The efficient doers among us can follow the step-by-step recipe below to get a tasty loaf of sourdough bread. For the tinkerers among us, the recipe will provide a good starting point for future sourdough experimentation. Not to scare away the efficient doers, but when it comes to sourdough it is a process that requires at least a little experimentation. But don’t let that worry you. If I can do it, you can too. For the experimenters out there, you can experiment a great deal with sourdough. You can experiment with recipes of a higher hydration, or with the amount of time you let it ferment, or with the temperature. I have let dough ferment overnight in my cool basement for more than eight hours and without any stretches and folds; other times I have performed the stretches and folds closer together then left it alone, or spread them out more evenly. In Montessori education there is a principle: Follow the child. With sourdough, we could similarly say to follow the dough. It is a living thing, so observe it and take note of what the dough loves. There is a little bit of a learning curve to the art of sourdough, but practice makes better, and soon you and your loved ones can be enjoying delightful, delectable, and nourishing bread. If you need to grow a sourdough starter, do check out that piece before baking.
Sourdough Process Overview
Once you have a healthy starter, the first step to making sourdough bread is a little planning. Sourdough bread takes time, small pockets of time that can easily fit into an otherwise full schedule, but, nonetheless, a person can’t decide on a whim that he or she wants a crusty loaf of sourdough bread for the evening meal and quickly whip one up. If I mix my dough in the morning, the soonest I can eat it will be around noon the following day.
Here is the overview of the process, with more detailed instructions of each step given in the recipe itself.
- Prep. If you store your starter in the fridge, you’ll want to take it out, give it a feeding or two and let it perk up for a day before you use it.
- Mix. Once the starter is active and bubbly, you use some of it to mix your dough.
- Autolyse. This step is optional, and you can cut it out if you are pressed for time, but if you want to give your starter a head start on developing the flour before you add the salt, perform the autolyse. Salt inhibits the growth of yeast somewhat, therefore with the autolyse, the flour is mixed with a little water, and the salt is omitted until later. Then 30 minutes to an hour after mixing the dough, add the salt with the reserved water and fold it into the dough.
- Bulk Fermentation. Once the final dough is mixed this begins the process called “bulk fermentation.” Bulk fermentation is primarily waiting. We wait for the yeast to leaven and flavor the flour. How long this process takes depends on the temperature of your kitchen and how often you return to the dough to fold or “turn” it. A colder environment will slow the process down, and if you have a busy day and will not be around to do a fold every one or two hours, then the time of fermentation will take longer. A turn or fold every so often will help the dough develop faster.
- Shape. Once the dough is forming bubbles, has increased in size, and is less sticky (approximately five hours after the final mix), the bread is ready to shape. I do an initial shape, wait ten to twenty minutes, then shape again and place in a banneton. You can also use a well-floured tea towel in a bowl. The whole banneton or bowl then goes in a plastic bag.
- Final Proof. Typically, bakers will let the dough sit on the counter inside a proofing bag for a little longer before moving on to the next step. Because dough that is a little under-proofed is great for bread, I often skip this step completely without negative consequence.
- Delayed fermentation. Though some people bake shortly after shaping, others give the yeasts and enzymes more time to work, enhancing the flavor, and making the bread more digestible and increasing its nutrition, but in the slowed-down, more controlled environment of the refrigerator. The bread can stay in the refrigerator overnight or even for a couple of days before baking.
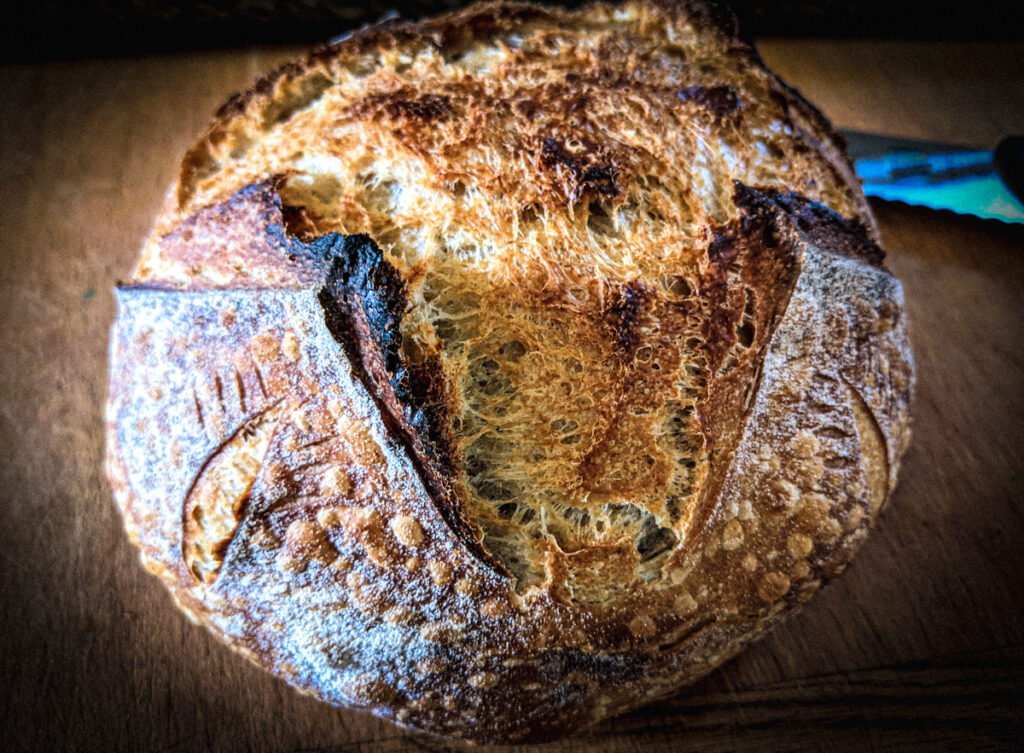
- Bake. The following day (or two) bake the bread. It will need to cool for two hours before cutting into it to avoid a bread that is gummy.
— April
Sourdough Bread

Equipment:
Bucket with lid (or large, plastic bowl with lid)
Dutch oven
Parchment paper
Bread bag for proofing bread
Digital kitchen scale
Heavy oven mitts, silicone preferred
Good bread knife
Optional:
Bread lame, razor blade, or very sharp knife
Banneton, or mixing bowl and tea towel
Kitchen thermometer
Ingredients:
90 grams bubbly, active sourdough starter
325 g room temperature water, preferably filtered
500 g bread flour
10 g salt
Rice flour for dusting (optional)
Advance Preparation
If necessary, prepare your starter a day or two before you use it by removing it from the refrigerator, feeding it, and giving it time to get active and bubbly.
Mix
Put the bread bucket on your scale and zero it out. Put in 325 g of water. Then, with a small cup (I use a shot glass), remove around 15 g of the water and set aside. Zero the scale again.
To test if the starter is ready, take a small spoonful of it and add it to the water in the bucket. Does the starter float? If yes, your starter is sufficiently bubbly for bread making and you can add the rest of the starter up to 90 grams. If the starter sinks to the bottom, it is not quite ready. Wait until the starter is more bubbly before adding the rest of the 90 grams of starter to the bucket.
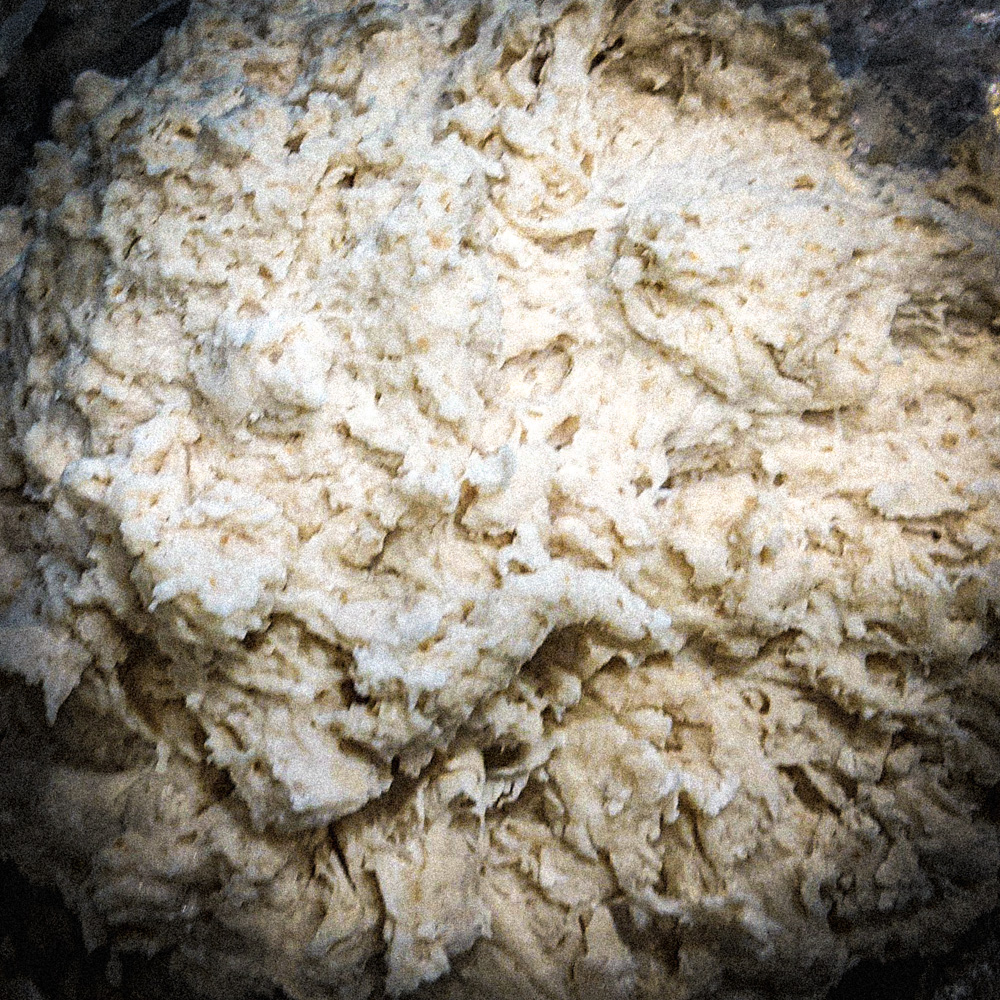
Add 500 g of bread flour to the bucket and mix it up. You may use a wooden spoon at first, but eventually you will need to use your hands to mix it well and make sure the flour is incorporated. It will be quite sticky. Once mixed, put the lid on the bucket and set aside.
Autolyse
Rest the dough for 30-60 minutes.
Final Mix
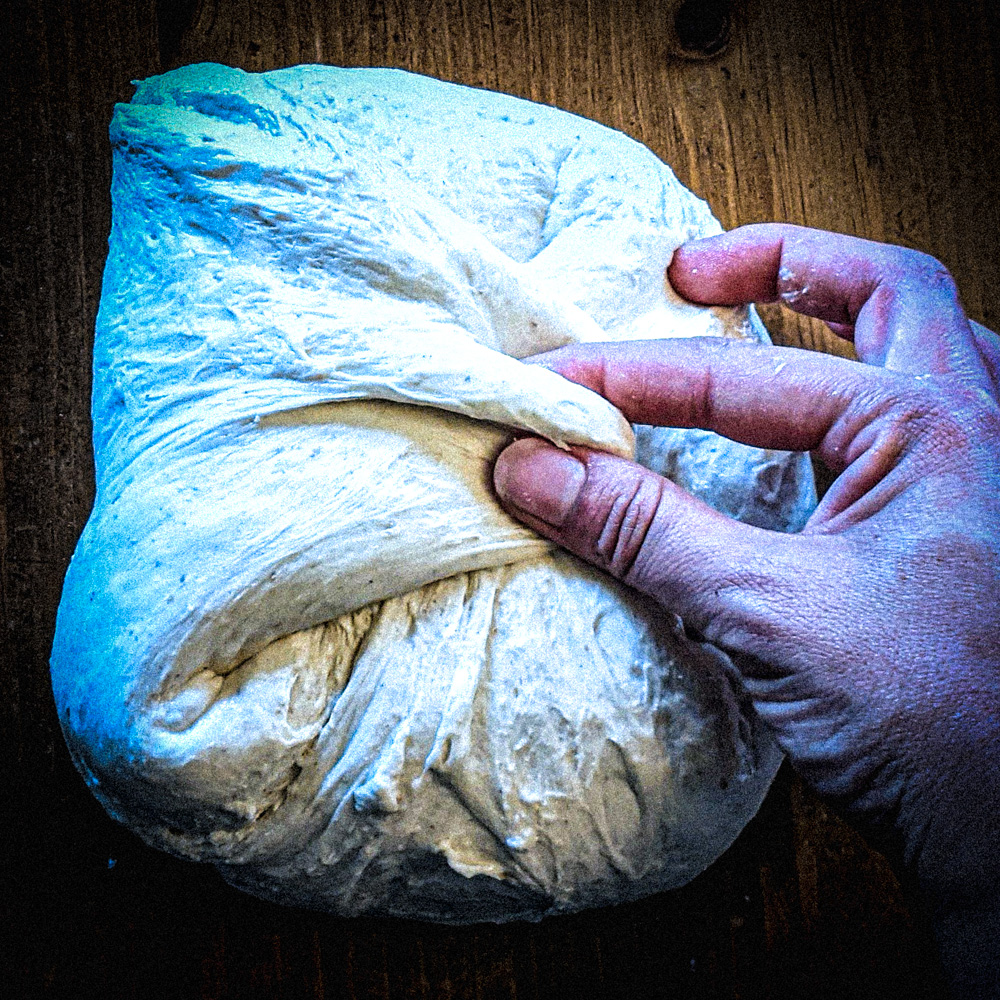
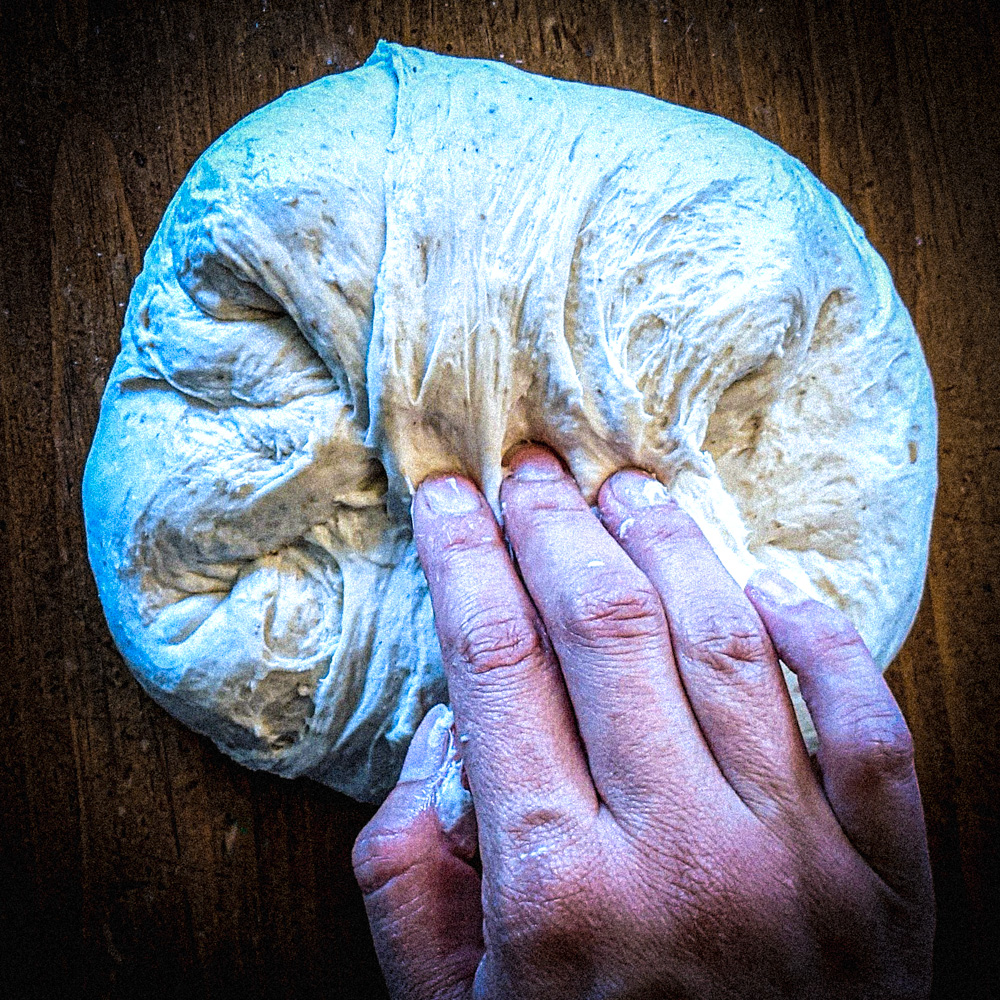
Place the bucket on the scale again. Zero, and place 10 g of salt in the bucket along with the reserved water. With wet hands, pull a section of the dough up, fold it over, rotate the dough, pull up again, and fold over. I often pull the dough completely out of the bucket and stretch it and fold it in the air a few times to get the salt incorporated throughout. Place back in the bucket and put on the lid.
Bulk Fermentation
This step is the most variable, as the amount of time it takes depends on the temperature of your kitchen. If you can do a few folds and stretches, this will help develop the dough. About an hour after the final mix, return to the dough, wet your hands, work the dough out of the bucket, stretch and fold it, rotate the dough, and stretch and fold again. Repeat this another time or two. Put the dough back in the bucket and put the lid on again. Do this a second time approximately an hour and a half later, and again an hour and a half after that. If you will be away from your home much of the day and you will not be available to give the dough a few stretches and folds, then you can plan to allow some more time for the fermentation process. As an example, in my kitchen, which is approximately 72 °F, the bulk fermentation lasts about five hours.
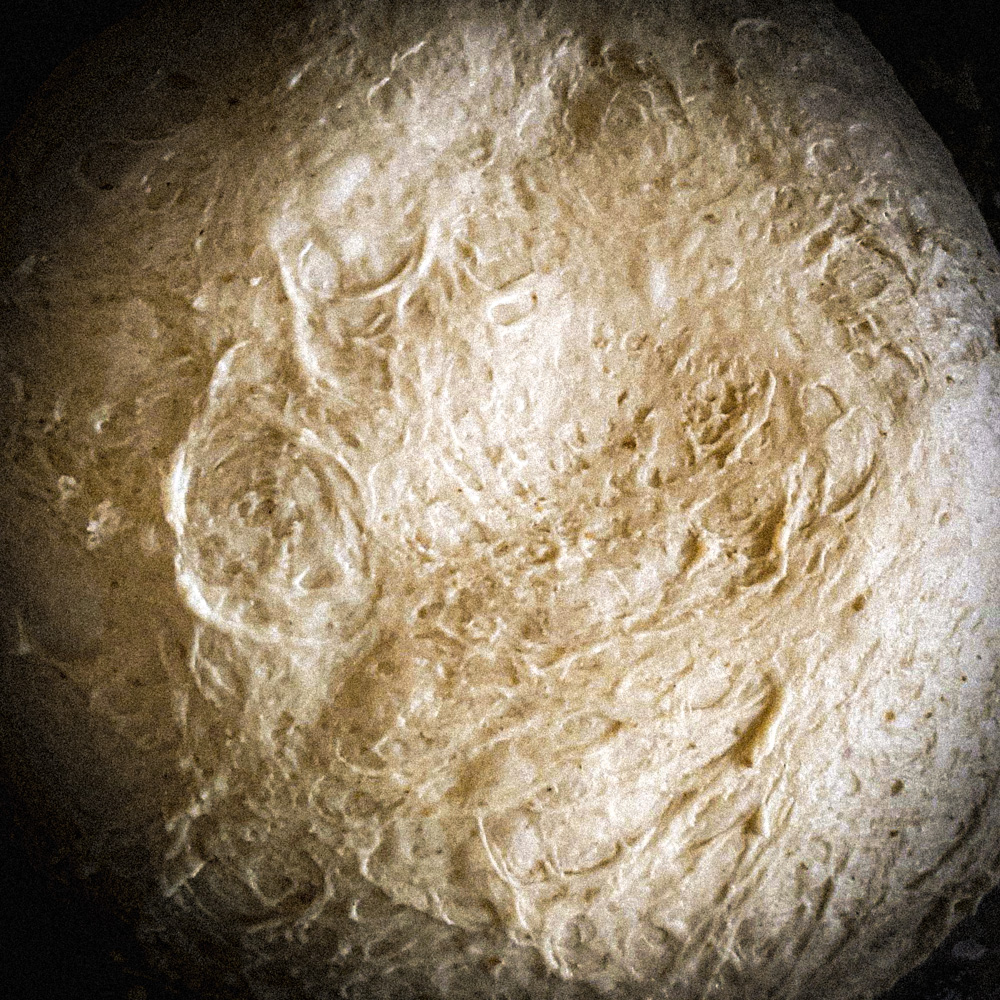
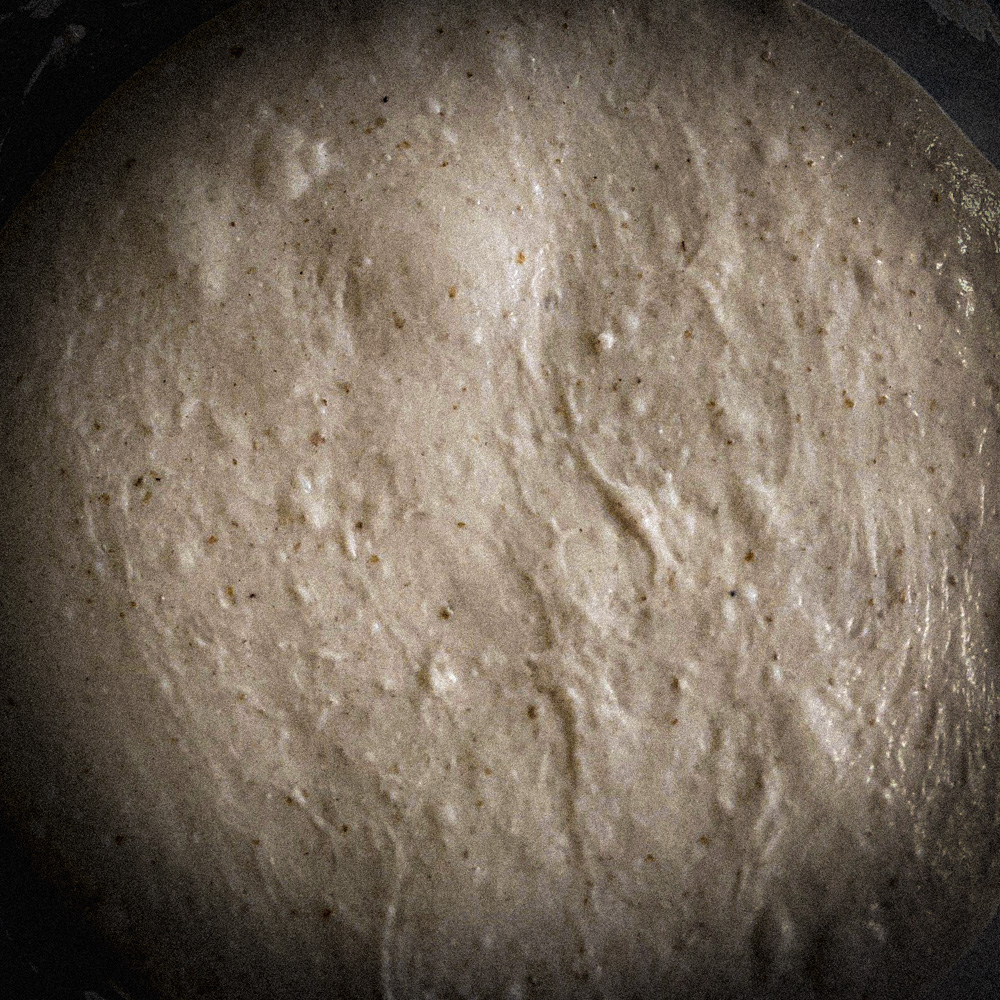
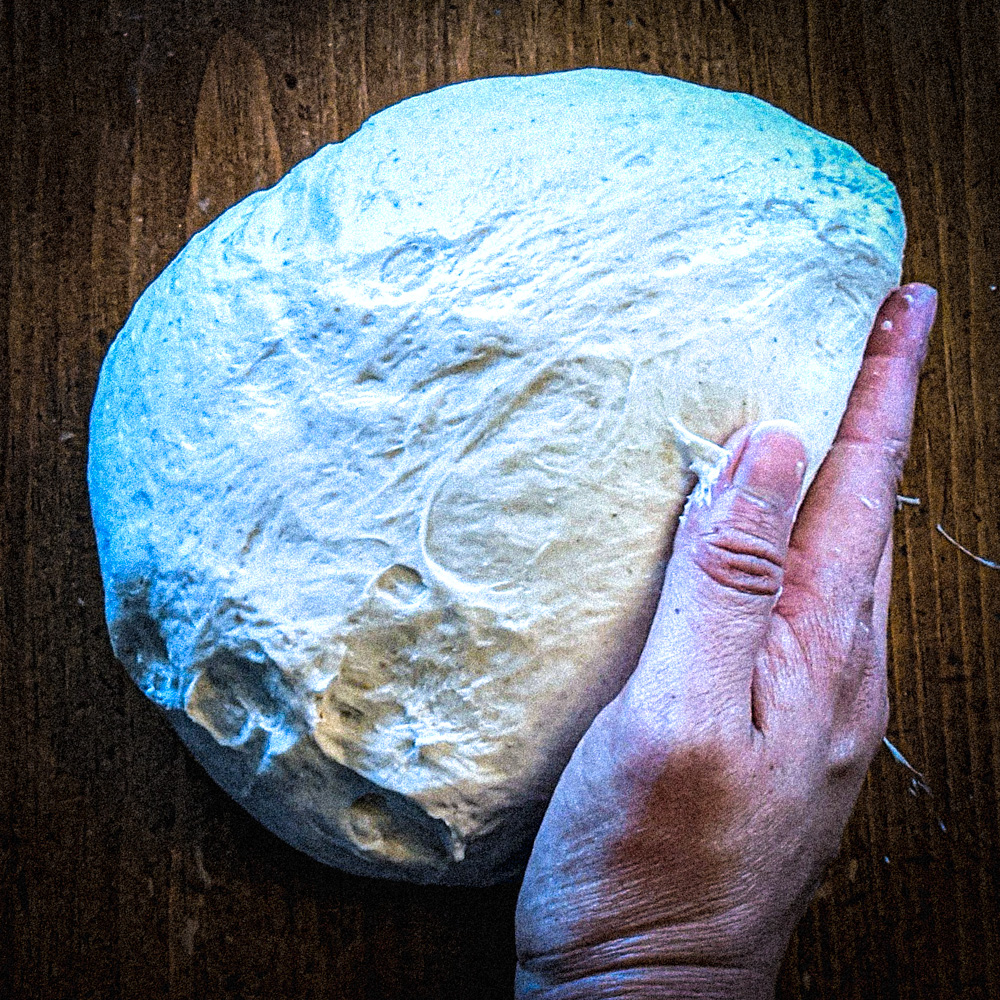
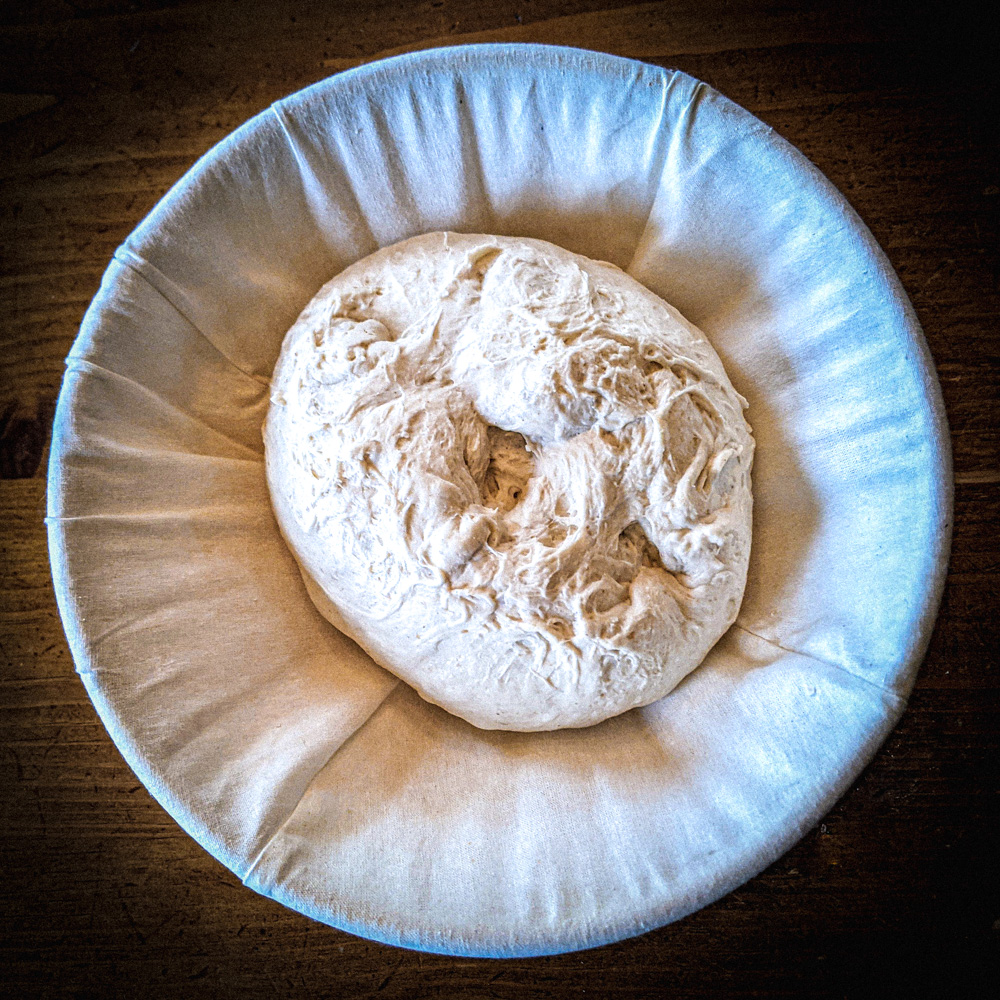
When is the dough ready to shape? You can look for signs that the dough has been adequately developed and is ready to shape. In the beginning, the dough will be quite lumpy and sticky. As the fermentation process continues, however, the dough will get smoother. As you handle it, the dough will also feel more airy, sort of billowy. You will see that bubbles have developed on the surface and that the dough itself has increased in size. For bread, it is more forgiving to be underproofed rather than overproofed. Dough that is over-proofed will become flat, incredibly airy and soft, and will not hold its shape. (If this happens, make pizza crust!)
Shape
To shape, turn dough out on a dry, or moist, clean surface. I do not flour the surface because I find that shaping is easier if the surface is not too slippery. Shaping sourdough bread is about building tension. The dough has created some nice bubbles by this point and we want to handle the dough gently enough that the bubbles do not get pressed out. The surface of the dough, however, we want to be taut. To shape, grab the right side of the dough, stretch it outward as much as it will go without breaking, and fold it over the center. Do this again on the side closest to you, the left side, and the far side. This is now the bottom of the dough and it will remain the bottom.
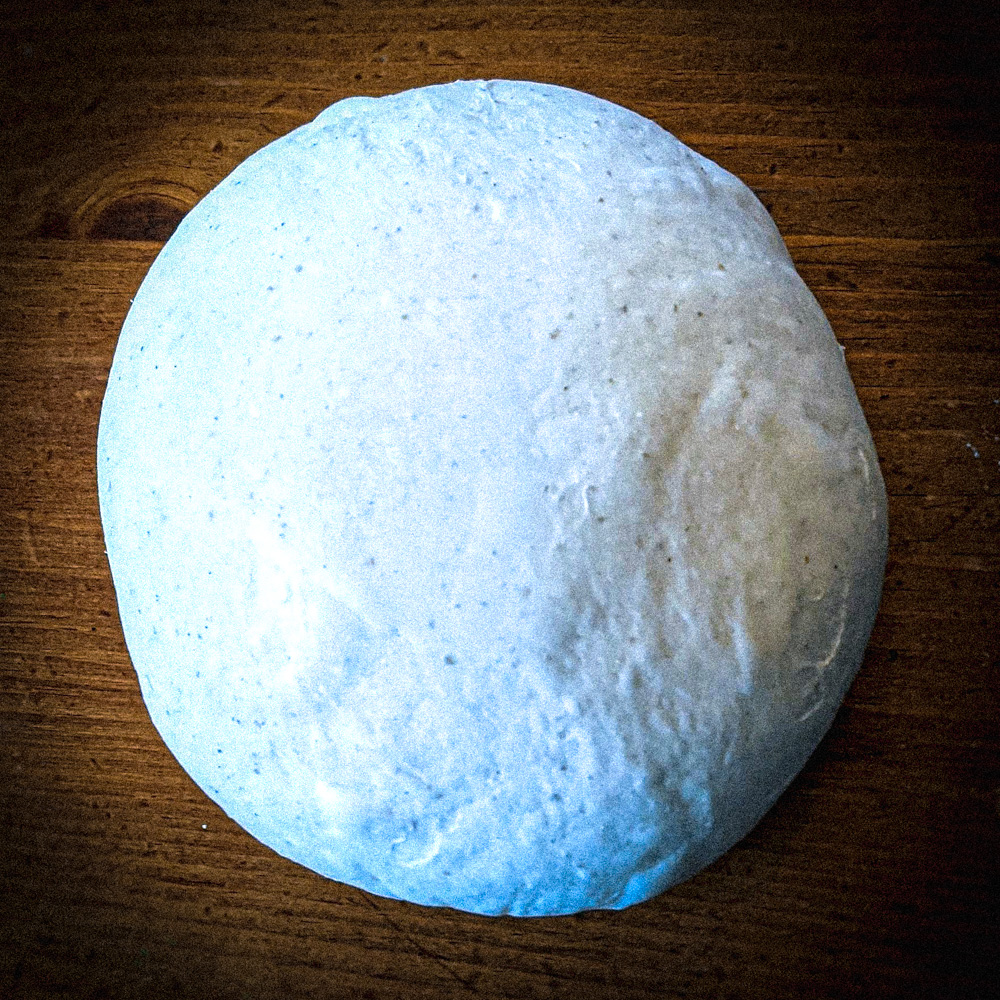
Turn the dough over so that the bottom of the dough is on the bottom. To make a tight round shape, drag the dough towards yourself, using the table top to help tuck the dough under itself and simultaneously tuck some of the top edge under. Rotate the dough and continue. The dough may still be a little sticky, but as you build tension it will get less sticky. Shaping is about tucking the edges of the dough underneath so that the surface of the dough is tight and the dough is a nice “boule” shape.
With wet hands, pat the surface of the dough to moisten it and cover with a clean tea towel.
Let sit for about 15 minutes. Return to the dough. If the tight boule has flattened out a bit (which often it will), turn the dough over so that the bottom is on the top. Once again, pull the sides, top and bottom outward and fold over the middle. Turn it over again so the bottom is on the bottom, and drag and tuck the edges under to build tension again and form into a tight boule shape.
Once the dough has been shaped a second time, place upside-down into a bread banneton (or a bowl with a tea towel that has been well-floured with brown rice flour). The bottom of the dough will face upward. Place the whole banneton or bowl into a bread proofing bag. You may wish to let it proof a little longer or else just place immediately into the refrigerator. If you want to do a final proof, when you poke the dough, the indent from your finger will pop back out slowly. Then it is ready.
Delayed fermentation
Let the dough sit in the refrigerator overnight or up to 48 hours. This step is optional, but I believe keeping this step yields the healthiest and the most delectable sourdough bread!
Bake
When ready to bake, place your Dutch oven in the oven and preheat to 500 °F. Once the Dutch oven is preheated, remove the bread banneton from the refrigerator, and turn out on some parchment paper, with the bottom of the dough on the bottom. You can score the loaf with a razor blade (or bread lame) by cutting a simple X shape, or, if you want to make some beautiful bread art, dust the top of the dough lightly with brown rice flour, score deeply an X shape. Then, if you wish, score lightly a design of your choice. I often cut a wheat-stalk design.
With heavy oven mitts, remove the dutch oven from the oven and place the parchment paper and dough inside. Put on the lid and place in the oven. Reduce temperature to 450 °F. Bake with the lid on for 30 minutes.
After 30 minutes, remove the lid, and bake for another 15 minutes. If the color is getting too dark, you can reduce the temperature further. When done baking, the internal temperature of the dough should read between 205 °F and 210 °F.
Place on a cooling rack and let cool for two hours. Cutting into it too early can create a too-doughy bread.


Notes:
Sourdough bread allows for a lot of experimentation, and a variety of methods exist. If you would like to make sourdough but are concerned about the time involved, you may want to try the overnight method. This method relies on cooler temperatures and longer times to develop the dough, but it does not require many stretches and folds. For this method, I mix my dough in the evening, do an autolyse if I have time, (otherwise add the salt at the beginning), try to do a turn an hour after the autolyse, then I put my bread bucket in the basement. My basement is cooler than the rest of the house, at around 65 °F. The dough sits downstairs overnight, then eight or so hours later I bring it up and shape it.